However, an issue that can occur here is transplant shock. This happens when the lily hasn’t been repotted correctly, which can lead to plant damage or even death.
You’ll learn about the signs a peace lily needs repotting in this post, as well as the steps involved with the method. We’ll also cover the things you can do to avoid transplant shock, to help keep your lily in optimal condition.
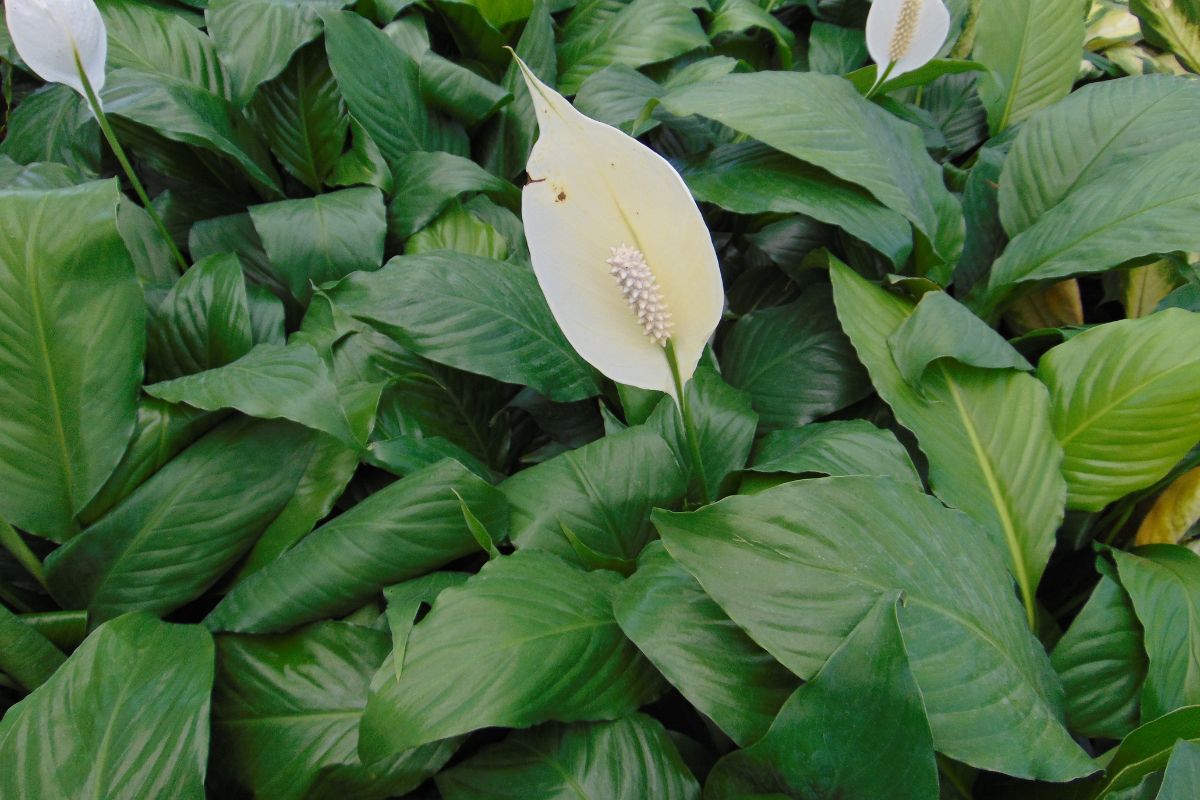
Signs A Peace Lily Needs Repotting
Here are the main indications when a peace lily needs repotting.
1. It Hasn’t Been Repotted In A While
Some people prefer to wait until their lily is showing signs of distress before repotting, but this isn’t recommended.
If a Peace Lily is left in its original container for a while, it can become root bound. This is when the plant’s roots twist tightly around themselves, compressing together to take up a lot of room.
It’s best to predict your lily’s requirements and give it some space every two to three years. Keep in mind that a Peace Lily’s growth rate will differ based on the sunlight it gets.
If your lily is placed in a well-lit area, you may need to repot it regularly, like once every year.
Some advice claims that the lilies prefer to be root bound, but this can weaken your plant’s overall health. Recurring stress can weaken your lily, lower its growth capability, and put it at risk of disease and pests.
You can help avoid root rot by using a high-quality potting mix, keeping up with regular waterings, and giving the lily a lot of indirect sunlight.
2. The Peace Lily Doesn’t Grow
Another sign that the Peace Lily is too big for the pot is when it seems to have stopped growing. Foliage growth relies on root growth. When a Peace Lily cannot grow in its pot, its potential for above-soil growth is affected.
A Peace Lily kept in optimum growing condition will grow several inches larger and will give nice sizes leaves each year. Root-bound plants, however, may look dormant. If they do develop new leaves, these may look smaller than usual.
Slow growth may also be the result of poor water, nutrients, or sunlight. If you find that your Peace Lily isn’t growing, think about the following factors:
When did you last re-pot it?
Are you watering too little or too much?
Did it receive any fertilizer in the current growing season?
Is it receiving a minimum of six hours of indirect sunlight every day?
If you’re sure that the Peace Lily was treated with its best growth conditions, but it seems dormant, it may be root bound.
3. Container Doesn’t Retain Water
A Peace Lily’s roots will group under the soil as they grow in the pot. Woody or stony debris can become stuck between the roots, but organic, spongy substances can be absorbed or pushed out.
Soon, nothing that remains in the pot will be able to absorb water.
This causes one of the most significant signs of a seriously root-bound Peace Lily. If you pour water into the pot, the water will soon begin to trickle from the bottom.
This is because there’s not a lot of soil left, so there’s nothing to become saturated with water.
After the lily reaches this stage, it s particularly vulnerable to root-bound related health issues.
4. Dehydrated Leaves
If a Peace Lily’s pot contains too many roots, it won’t be able to retain any water. This can lead to predictable consequences.
As the plant is dehydrated, the foliage will begin to droop significantly. A lot of the leaves will turn crunchy and brown, starting at the edges and sides. Many of these may turn deformed and tattered due to poor nutrient uptake.
You can try and water every day, but you’ll still notice some damage, as the roots are too busy and full. They won’t be able to take up enough nutrients and water to support the leaves.
Make sure you think about other possibilities. Sunlight scorch, fertilizer burns, and poor watering can lead to comparable symptoms. Ensure that these issues are responsible before repotting the lily.
5. Roots Are Out Of Control
If a Peace Lily’s roots have no more space to grow, they can run out of control. Their roots might start to poke through the pot’s drainage holes, or grow straight through the soil’s surface.
However, this may also be the result of leaving the pot on a wet dish, or from bottom watering the lily. Roots usually grow in the direction of water. If any moisture is present near the pot, the plant’s roots may travel through drainage holes to receive it.
6. Waterlogged Soil
The signs above are signs of a root-bound plant. This final reason is related to a different need for repotting: inadequate drainage.
Peace Lillies prefer their roots to be slightly damp, but they won’t thrive in waterlogged soil. If your potting mix stays wet for over four days following watering, it’s in danger.
The additional water prevents the roots from receiving oxygen. Soggy soil is also a hotspot for bacteria and fungi. This can cause root rot, which in serious cases, can be fatal.
You can lower this risk by saving watering for when the first one to two inches of soil become dry. You can also use a dense potting mix to avoid suffocating the Peace Lily’s roots.
Things You Need To Repot A Peace Lily
Now that you know the signs you’ll need to repot your peace lily, here are the things you’ll need to do so:
Soil
Soil is the most important element when it comes to repotting a Peace Lily.
The soil should mainly consist of large-grained substances that won’t decay quickly. The gritty pieces form gaps in the mixture, which aid with drainage and aeration.
Squishy organic substances should form a smaller, but noticeable portion. This will soak up a small amount of water that prevents the lily’s roots from turning dry.
Pots/Containers
Now you’ll have to think about the right container. When you’re potting up, you’ll need a container that’s around two inches larger that the previous one. Don’t choose a pot that’s larger than this.
If you repot a Peace Lily in a container that is too large, it’s very easy to overwater. The additional soil in the pot will mean it dries out at a slower rate.
If you’re planning on dividing the Peace Lily, you’ll need a pot for every clone you want to split off. These sizes will vary based on the future size of the baby plants.
You can predict this by examining the various foliage groups on your Peace Lily. It will be divided at the joints linking these clusters, which are called crowns. Think about which crowns you’d like to break off at first, then use the containers that will fit them.
Ensure that every container has drainage holes in the bottom. Their material isn’t that significant, but keep in mind that terracotta pots dry out quicker. They are made with porous clay that leads to the soil’s moisture leaving through the pot’s walls.
Supplies
Here are the additional materials and tools you’ll need to repot your Peace Lily.
Garden knife. This is useful if the lily is particularly cramped, as saw off some of the root’s ball with the knife.
Shears. Keep these close by, as you may need to split or trim the roots.
Disinfectant: Always sanitize a knife before you cut the plant. Hydrogen peroxide and rubbing alcohol both work well.
Gloves: Not a strict requirement, but they are useful.
Newspapers and old towels: Lay these down to prevent making a mess with the soil.
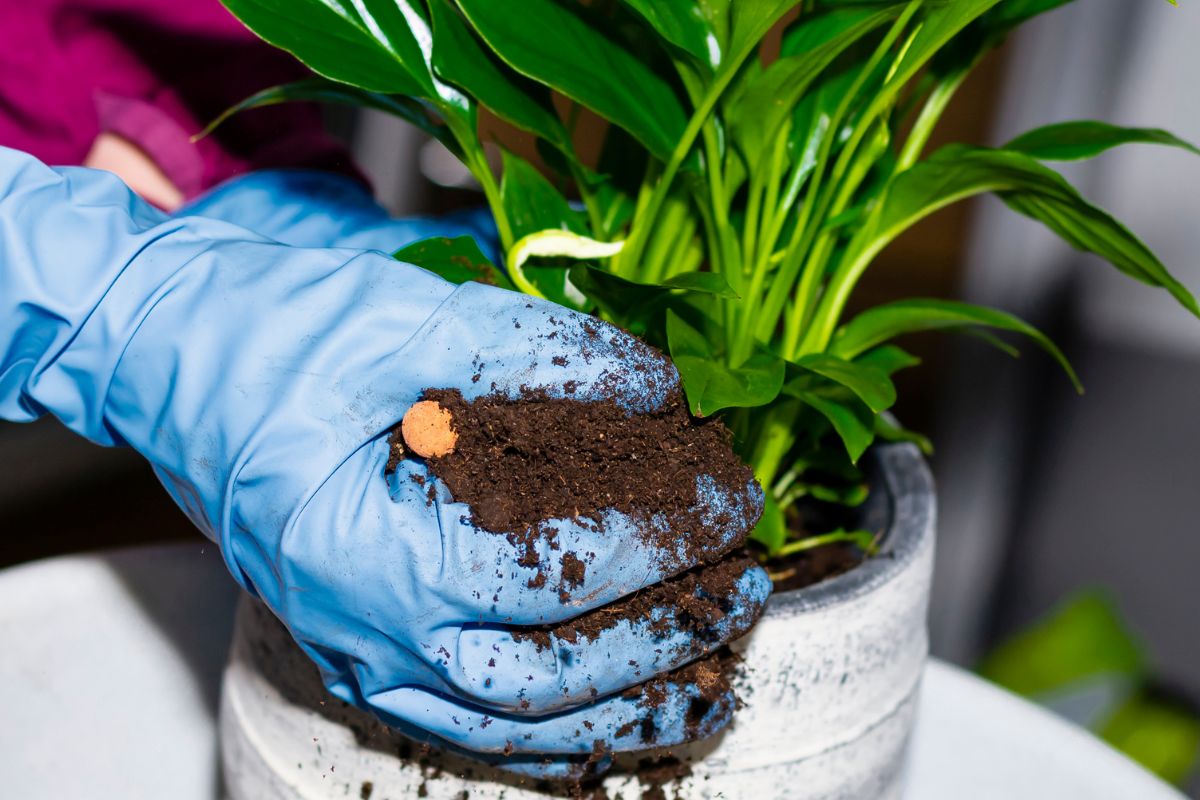
Repotting A Peace Lily: Method
It’s best to repot a Peace Lily during early spring. This gives the plant a complete growing season to settle and recuperate from the shock.
Follow these steps to repot a Peace Lily:
Water the lily the day before you plan to repot it. This will give it enough water, as its roots won’t be in optimum condition for a while.
Trim any blooms or leaves that are turning brown, yellow, or withered from age. This ensures that the lily spends its energy on getting better after the transplant.
Grip the plant at the bottom, then tip it out of its container. A tip is to run the knife around the inside rim to loosen the roots. You can also give the container’s base a good smack.
Remove most of the soil and rinse the lily, if needed. Find any roots that are black, brown, or slimy. These indicate the roots are rotting and need to be cut off. Disinfect the tools with every cut.
Use your fingers to distribute the root mass outwards. This makes the roots grow outwards, rather than tightly grouping together.
If there is a bad case of root bound, with several lengthy roots circling the rest, perform some pruning. Disinfect the knife, then cut the bottom quarter of the root ball, cut around the sides, or do both. This may seem strange, but you shouldn’t run into any issues, provided you leave ⅔ minimum of the plant’s root mass intact.
Fill the last third of every container with slightly damp soil. Plant each lily into their new pot, then use potting mix to coat the roots. Give the pot a gentle shake to spread the soil, but remember to avoid packing it tightly.
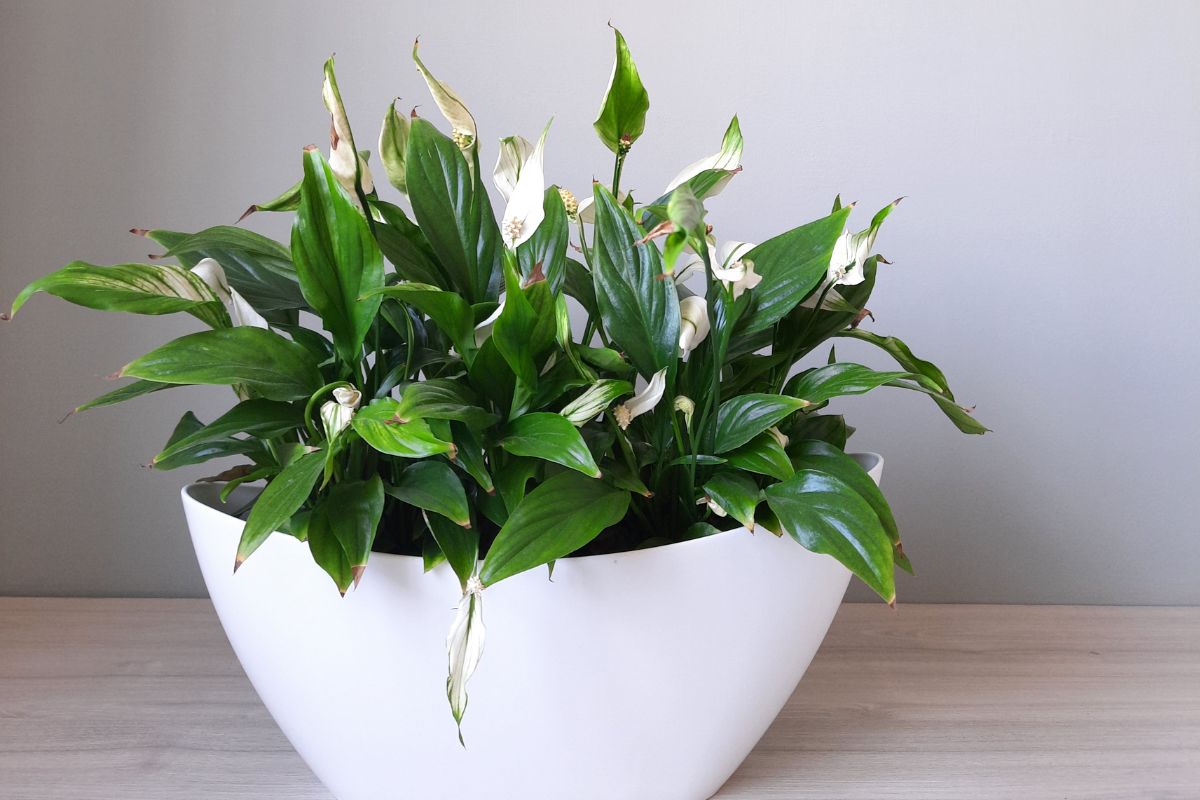
Looking After A Peace Lily Following Repotting
It doesn’t matter how carefully you do so, repotting a houseplant will put it under lots of stress.
You may notice your Peace Lily drops a lot after repotting, but this is normal after the process. The plant should start to look better when the roots recuperate after the shock.
Once you finish repotting, there are things you can do to prevent the lily from further stressing out. These include:
Taking care when watering. A Peace Lily won’t be able to handle as much water until its roots get back to full strength. This also means that it’s at greater risk of infection and root rot, so only water when the first couple of inches of soil feel dry.
Don’t use fertilizer. The Peace Lily isn’t in the best growing condition, so it won’t be able to use any nutrients you give it. The nutrients will build up inside the potting material, so it is susceptible to fertilizer burn.
Keep out of direct sunlight. A strong Peace Lily can handle a few hours of sunlight, but a new repotted one is at risk of burning. Give the plant lots of indirect light, but keep it away from strong beams.
Maintain humidity levels. Greater humidity is ideal for Peace Liles, particularly when the plant is mending its roots. Aim to keep humidity levels over 60%, using a humidifier if needed.
Keep following these preventative measures for a month, at minimum. You may need to go longer, depending on your plant’s condition. If the Peace Lily begins to produce new leaves once more, it will have recovered from the transplant shock.
The Bottom Line
If a Peace Lily is drying out, dormant, and doesn’t retain water, it’s clear that it needs additional room.
Repotting your lily every two to three years will ensure you don’t run into these symptoms!
We hope you see success repotting your Peace Lily at home.
Hi, I am Diane Peirce, and I am one of the co-creators of MichWildflowers.com.
I love sharing my experiences with individuals in this community, and I enjoy sharing some of the best tips I have learned over the years caring for my own garden at home.
In my articles, you will find the best flowers, most fragrant flowers you can plant in your garden, how to care for your favorite plants, informative guides and how-tos so you can have the best backyard in town!


![How To Save Zinnia Seeds [Harvesting And Storage]](https://michwildflowers.com/wp-content/uploads/2023/05/How-To-Save-Zinnia-Seeds-Harvesting-And-Storage-150x150.jpg "How To Save Zinnia Seeds [Harvesting And Storage]")
")


")
